Summary
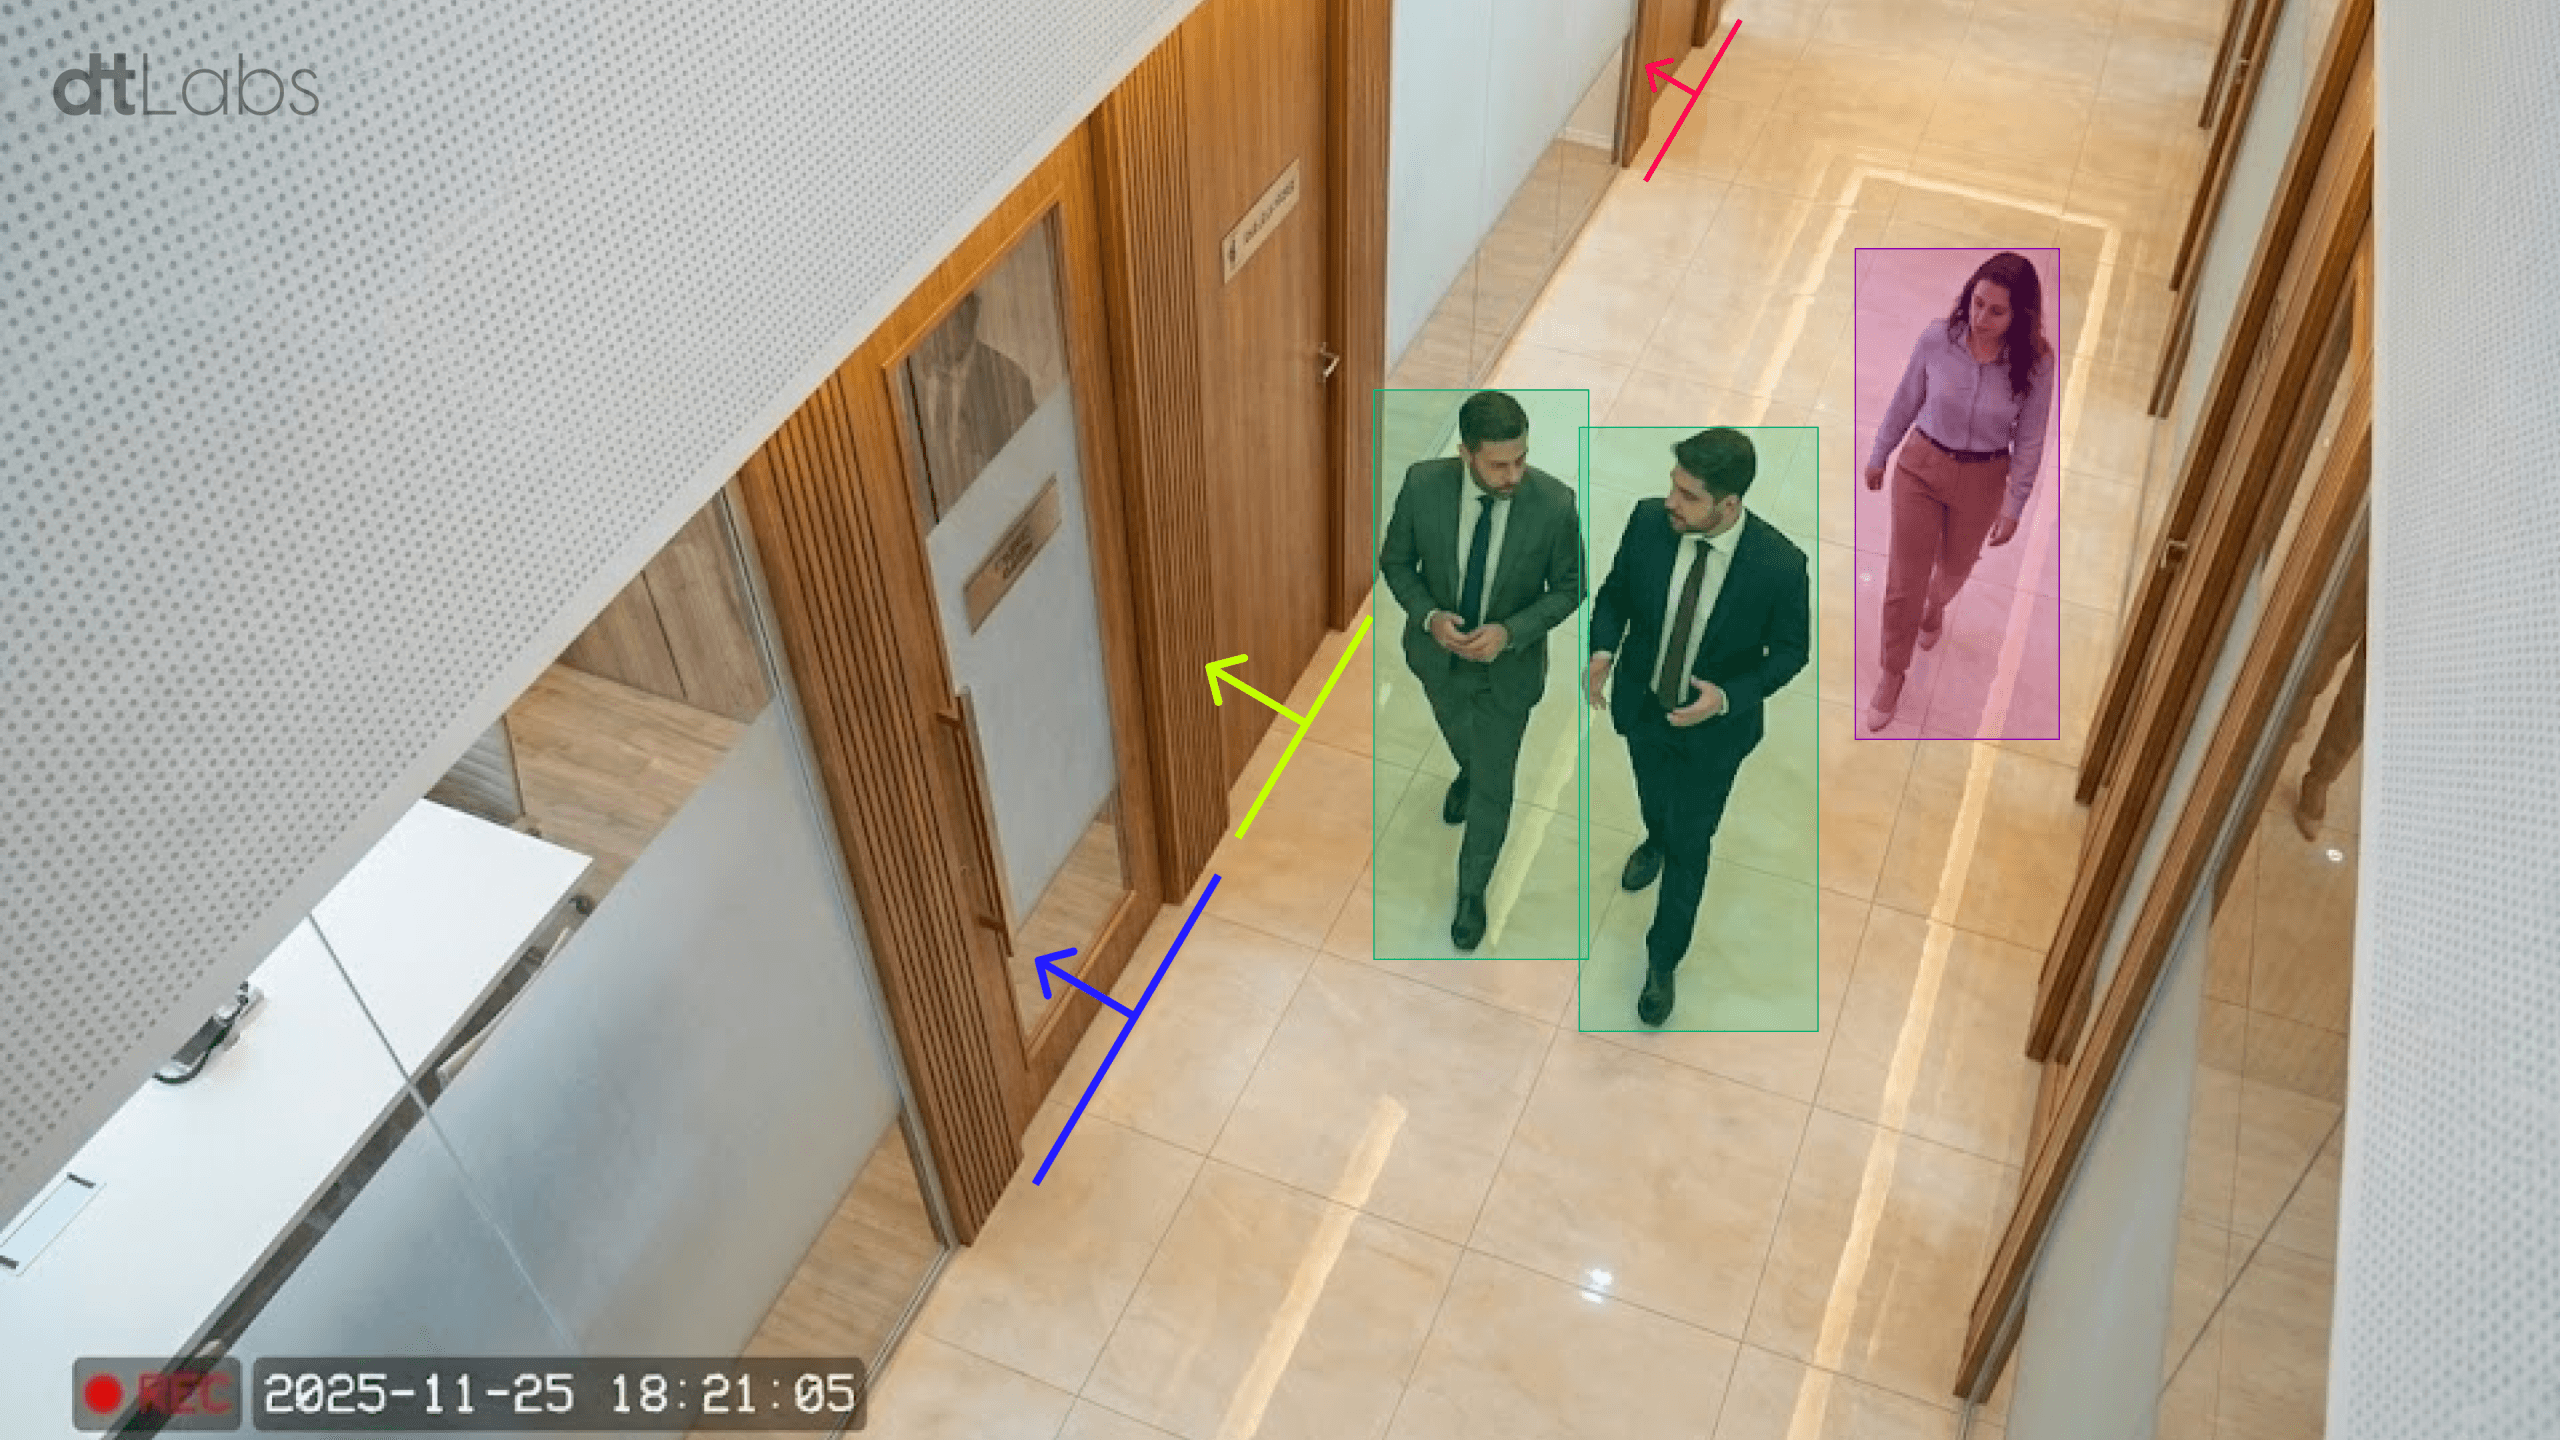
IP cameras are the eyes of any computer vision system, responsible for capturing images of the scenes and objects you wish to monitor, which will then be processed by the Edge AI platform of your choice, such as our AIOS. They are so important that, when implementing a new project, one of the first questions to be answered is “what cameras do you already have?”
But what if the answer is “none”? Imagine you are implementing a project from scratch for a new client, and they want a proof of concept, a quick demonstration that the proposed solution will work in their environment and as expected. Unfortunately, they do not have any IP cameras installed.
In these cases, you can use a more portable, cheaper device that you probably already have in your pocket: an Android smartphone. Even an old one that was replaced by a newer model and is gathering dust in the bottom of a drawer.
In this article, we will show you an app you can use to turn your smartphone into an IP camera, allowing you to have more agility and reduce costs when implementing proofs of concept.
What is an IP camera?
An IP camera is a digital security camera that transmits video (and sometimes audio) over the network using the Internet Protocol (IP), instead of using an analog signal via coaxial cable.
It connects to a local network or the internet (via Ethernet or Wi-Fi), allowing images to be accessed from anywhere with a network connection, and stored on computers, NVRs (Network Video Recorders), cloud services, or mobile apps.
Compared to traditional analog cameras, IP cameras offer superior image quality, with much higher image resolution than analog cameras, which is essential for capturing important details like faces and vehicle license plates.
Installing IP cameras is easier, as they use existing network infrastructure, eliminating the need for dedicated cabling. This makes them more flexible and scalable, allowing for easy relocation and expansion. Analog cameras, on the other hand, rely on specific coaxial cables and equipment like DVRs (Digital Video Recorders) for image recording and transmission, limiting their flexibility and increasing deployment and maintenance costs.
The transmission of images produced by IP cameras is digital, with less interference and greater security due to data encryption, whereas analog cameras are more susceptible to noise and signal degradation, especially over long distances or in environments prone to electromagnetic interference (for example, near industrial electric motors and generators).
In summary, IP cameras provide a more technological, secure, and integrated solution for modern systems, with greater potential to meet more demanding security needs. Therefore, IP cameras are often the best choice for projects that require performance and innovation in surveillance.
Warning: Don’t Let a Temporary Solution Become Permanent
Before proceeding, a warning is in order: using smartphones as IP camera substitutes should only be done on an experimental basis or during quick proofs of concept for a project. We absolutely do not recommend this be done when the project is in production.
There are several reasons for this. Firstly, smartphones were not designed to be kept on 24/7 with the camera in use. In some models, prolonged use of the camera can cause the device to overheat, which is detrimental to its overall lifespan, and especially to the battery life.
Furthermore, smartphones are much more fragile than traditional IP cameras, which are generally built to minimize, or prevent, the entry of elements like water and dust, exposure to the Sun’s ultraviolet radiation, and sudden temperature changes.
Finally, the software environment of a smartphone is much more complex than that of an IP camera, which can lead to security vulnerabilities or abrupt performance drops due to background processes (such as app and system updates).
IP Webcam: An IP Camera in Your Pocket
If you have an Android smartphone, a good option to turn your smartphone into an IP camera is IP Webcam, from Thyoni Tech. This free app has over 10 million downloads on the Play Store and provides all the basic features needed to turn your smartphone into an IP camera.
IP Webcam requires almost no configuration. After installation, all we need to do is select a connection port for the video server and, for security reasons, a username and password to access the video stream.
To do this, click on the Local Broadcasting option in the app’s main menu. On the next screen, tap the Login/password option. Type a username in the Login field and a password in Password. Be careful not to make a typo in the password, as the app does not show what is being typed. Click OK.

Now click on HTTP and RTSP port to define a connection port for the video server. The default port is 8080, but you can change it to any other you deem more appropriate. If your network is protected by a firewall, don’t forget to check its settings to see if the chosen port is open to other devices on the network.
No further configuration is needed, just click on the options menu (⋮ icon) in the upper right corner of the screen and on the Start server option to begin streaming. You should see the camera image, and the server URLs at the bottom of the screen.

Several video parameters can be adjusted in the Video preferences option on the main screen. Among them are which of your smartphone’s cameras will be used, resolution, orientation, frame rate, and much more.
IP Webcam also has a sophisticated web interface, which can be accessed with any web browser by using the IPv4 server URLs shown on the bottom of the video feed on your smartphone screen.
There you can remotely adjust image orientation, zoom, crop area, switch between cameras, enable night mode and even motion detection in specific areas of the image, among other parameters. This enables you to fine tune the stream without having to reach for the smartphone.

Testing the Stream
To watch the video streamed by your smartphone, we can use any player capable of tuning into HTTP or RTSP streams. We recommend VLC Media Player, available in versions for Windows, Linux, mac OS, Android, and iOS.
In the desktop versions of the app, click on the Media/Open Network Stream menu and type the server URL in the “Network URL:” field, followed by “/video”. For example, if the URL shown by the app on your smartphone screen is “http://192.168.100.8:8080”, type “http://192.168.100.8:8080/video”. Click Play.

In the window that appears, enter the username and password you defined, click OK, and the image from your smartphone’s camera will appear on the screen.
Integrating IP Webcam Streams Into AIOS
To integrate IP Webcam video into an AIOS pipeline, proceed the same way as you would using any other IP camera: add a Video Feed component to the pipeline. The only difference is that you need an RTSP URL for the video stream, not the HTTP one used for testing the transmission with VLC.
To get this URL, open IP Webcam’s interface and, at the top of the screen, look for the Video renderer label. Select the RTSP/h264/ONVIF urls option and copy the H264 URL, as shown in the image below:

Add this URL to the URL field on the Video Feed component, as shown below. That’s it! Now your smartphone can be used as any other IP camera in AIOS pipelines.

Conclusion
As shown, turning your smartphone into an IP camera is an easy and quick process, which adds another valuable tool to your arsenal and speeds up the implementation of proofs of concept, increasing your chances of closing a deal. But remember: this “trick” should only be used for experimentation, and never in production.
Want to know where to use your new camera? The dtLabs AIOS platform has dozens of ready-made models that speed up the deployment of computer vision solutions in the most varied segments, from facial recognition to people flow analysis. All this in an easy-to-use interface, without needing to write a single line of code. Download our eBook and see what AIOS can do for your business!