Summary
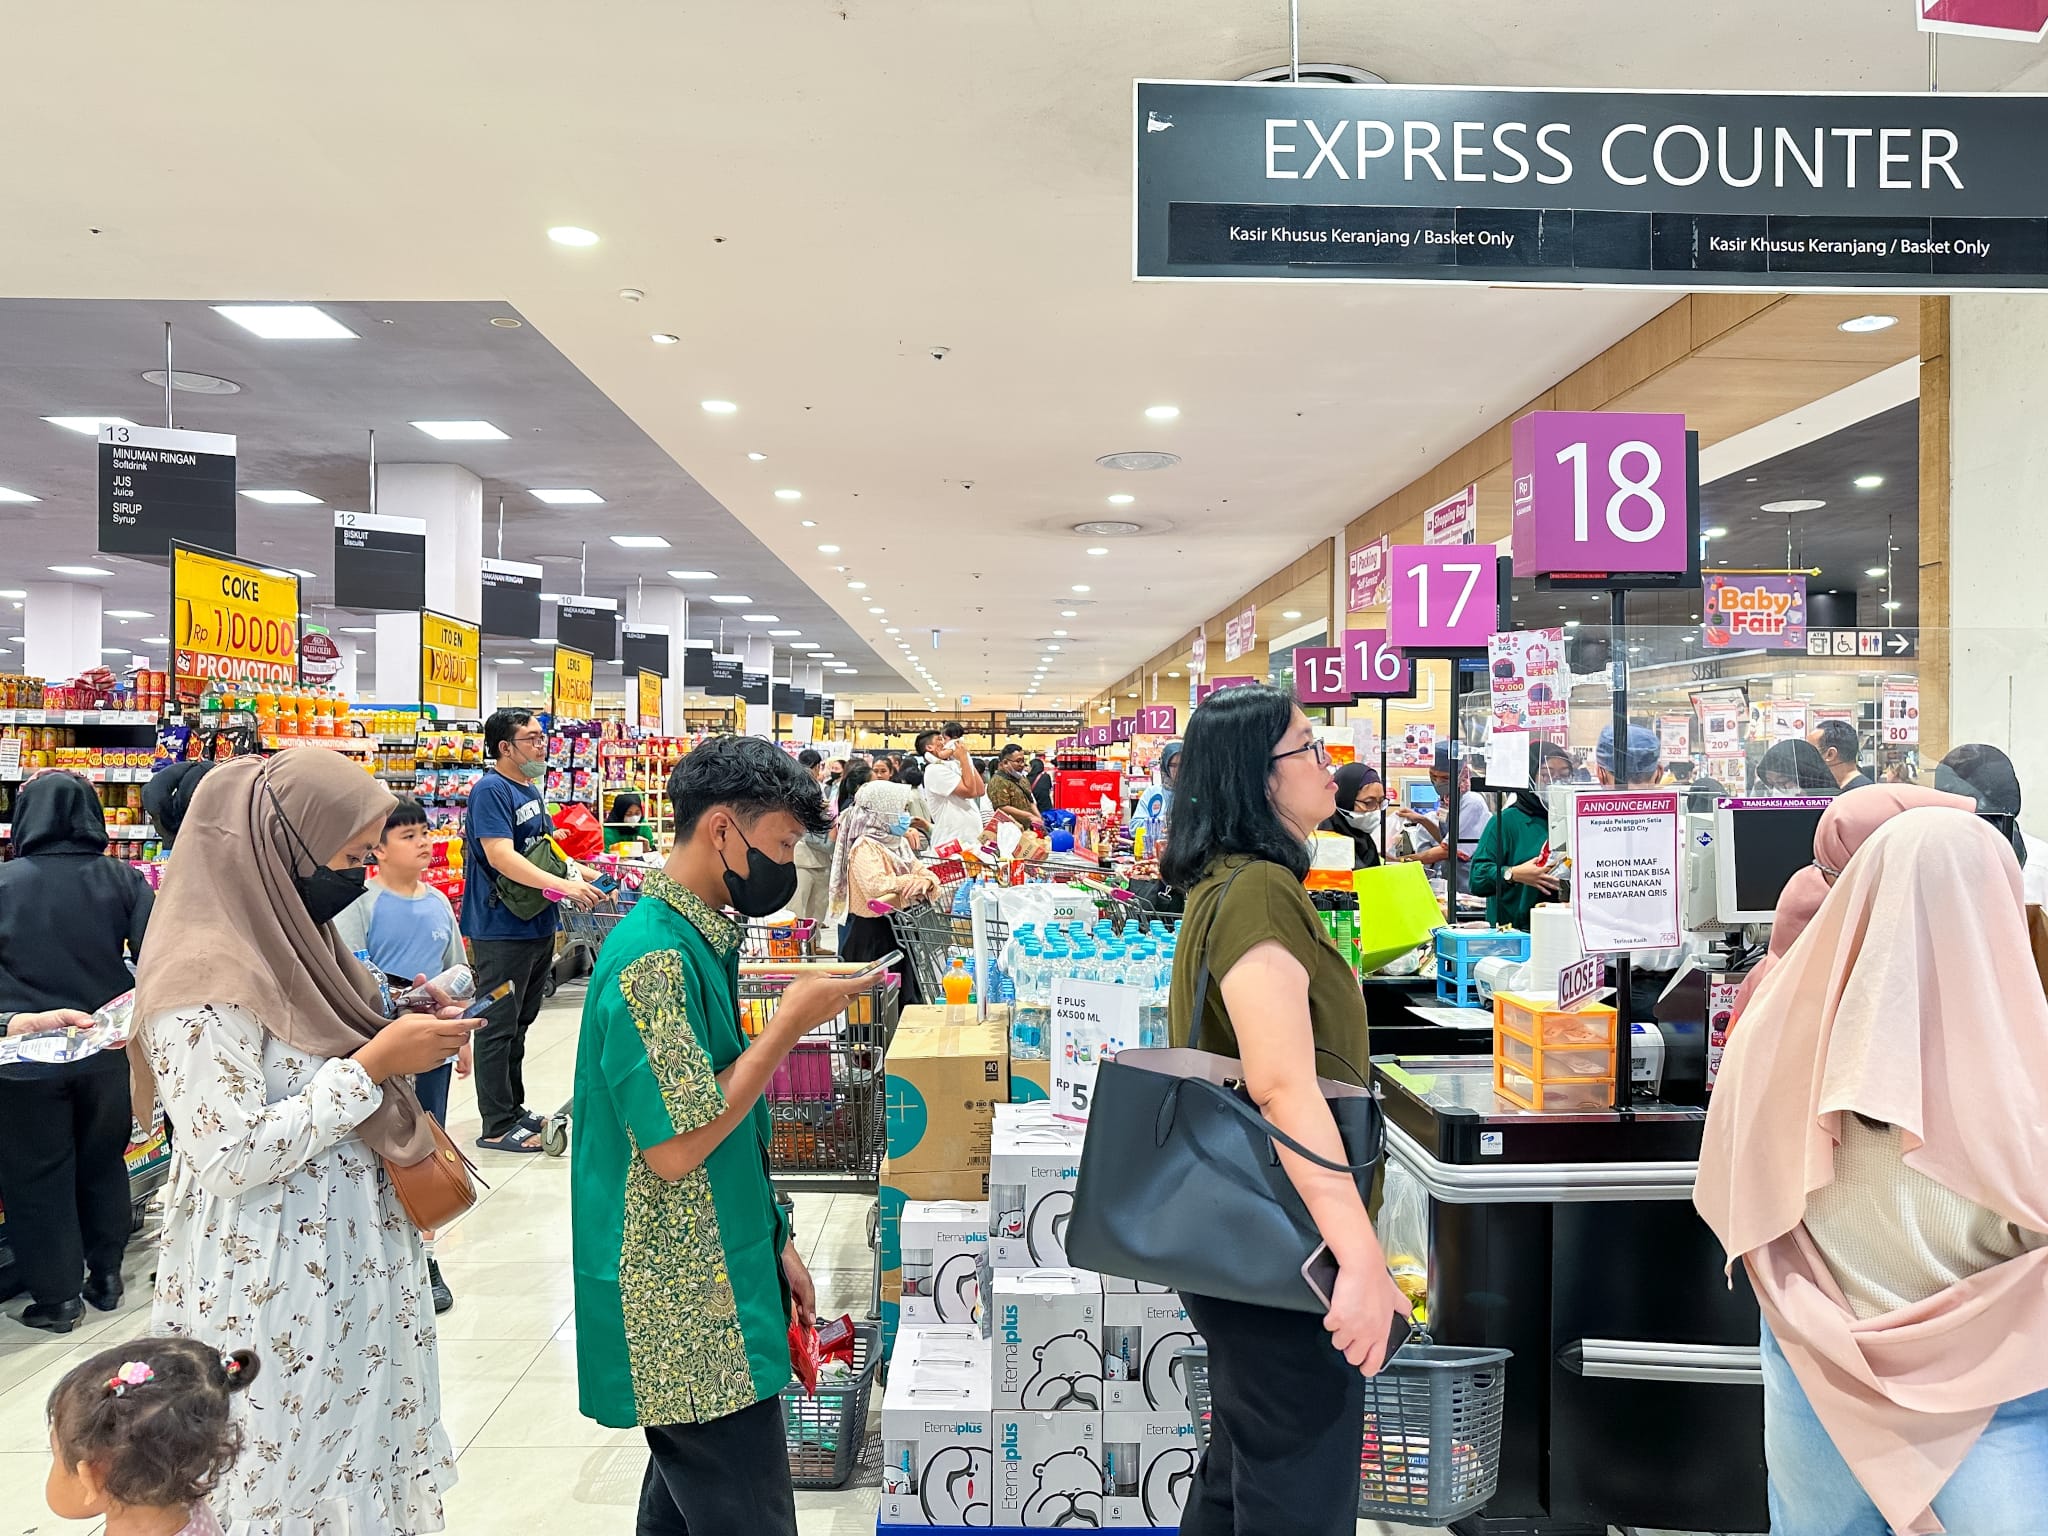
The home security market is experiencing strong expansion, driven by advances in artificial intelligence and home automation. In Brazil, our home country, the sector’s revenue was estimated at around US$ 2.7 billion in 2024, driven by increased risk perception and greater awareness of the importance of digital and physical protection against home intrusion.
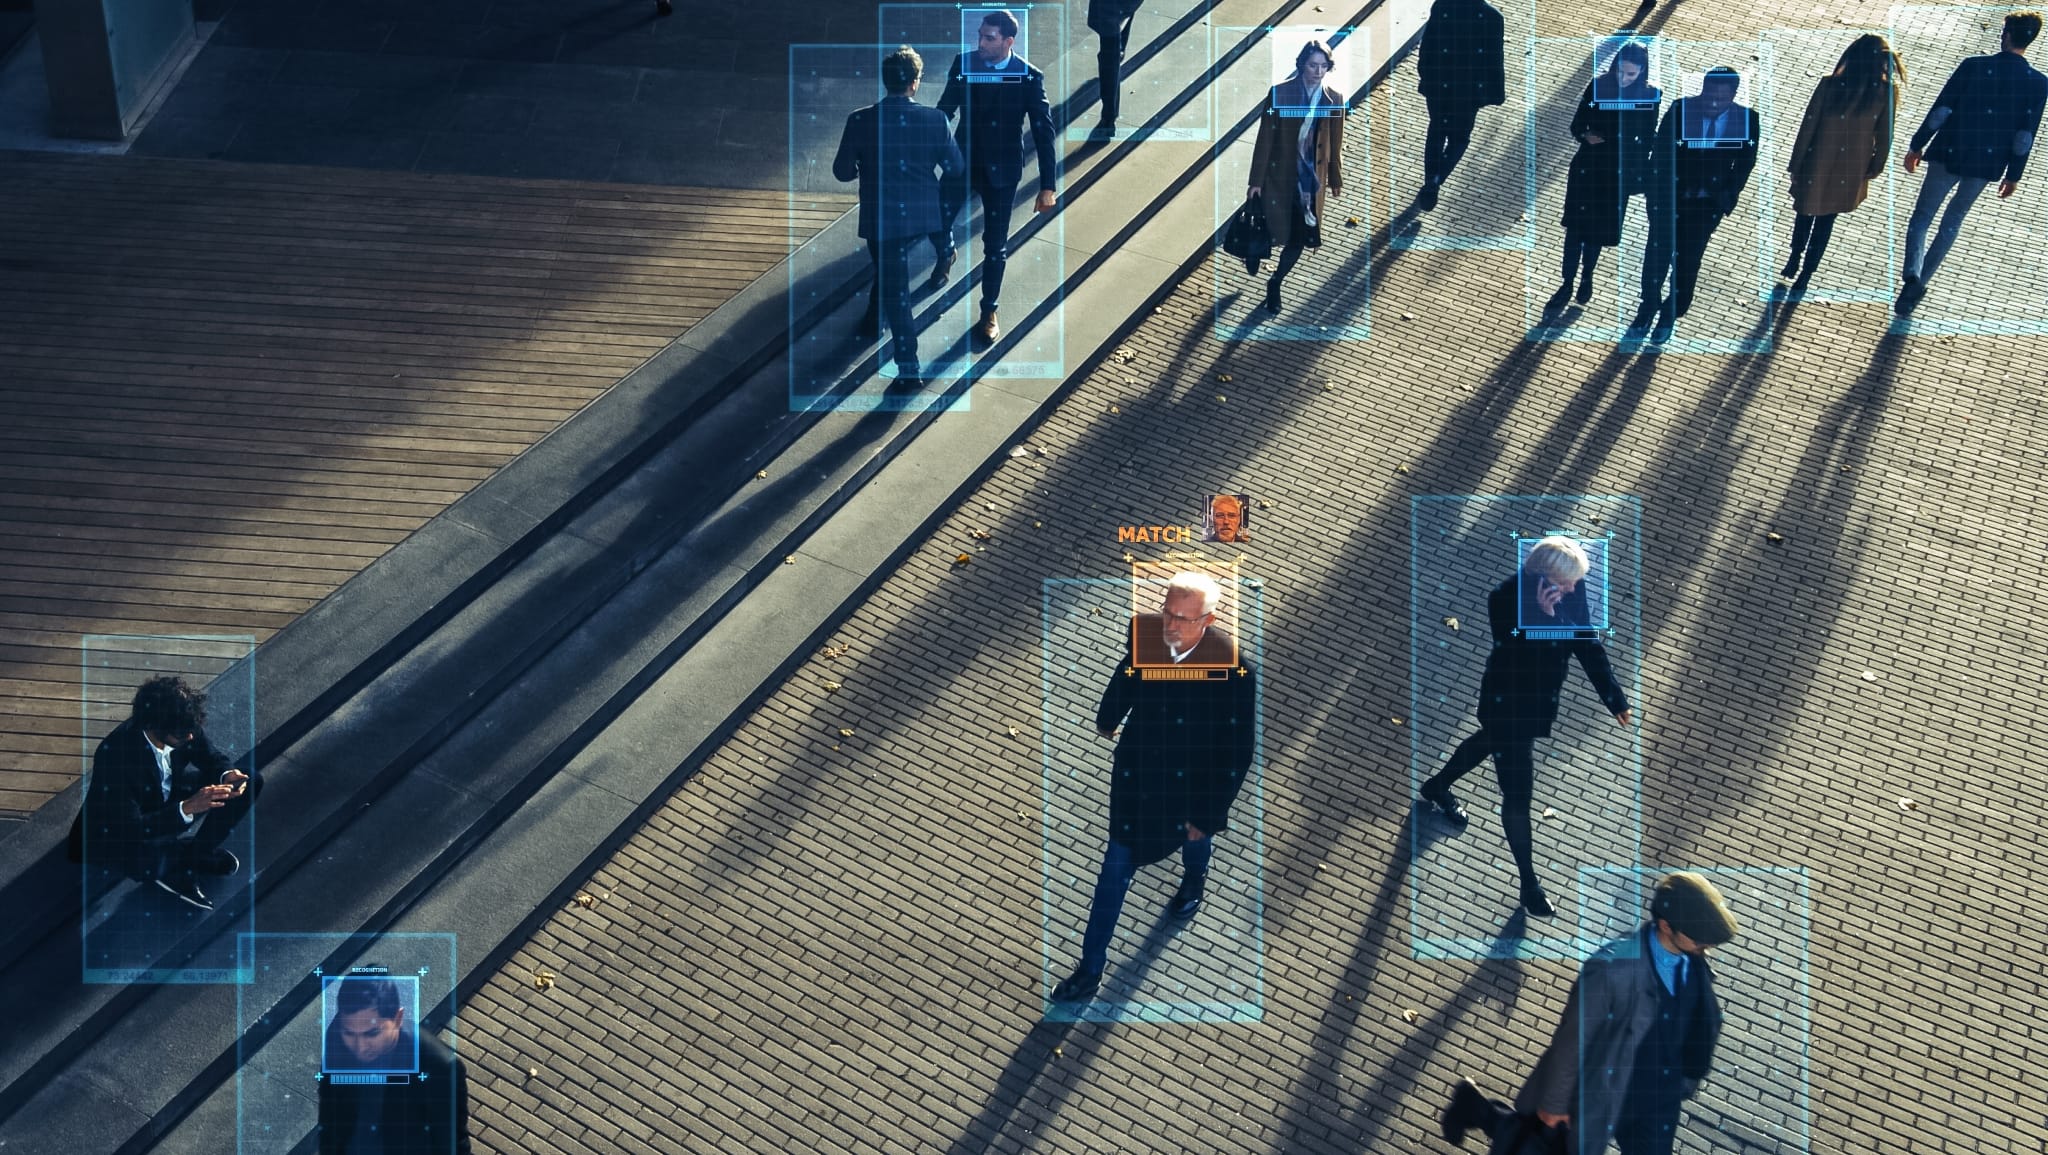
In this context, the demand for technological solutions is growing rapidly, with clear trends toward the adoption of technologies such as AI (with smart cameras and predictive analytics), contactless access control, and remote monitoring. Companies in the sector and end consumers are seeking flexible, customized, and connected systems, making the market increasingly competitive and innovative, with expectations of continued expansion and rapid digital transformation.
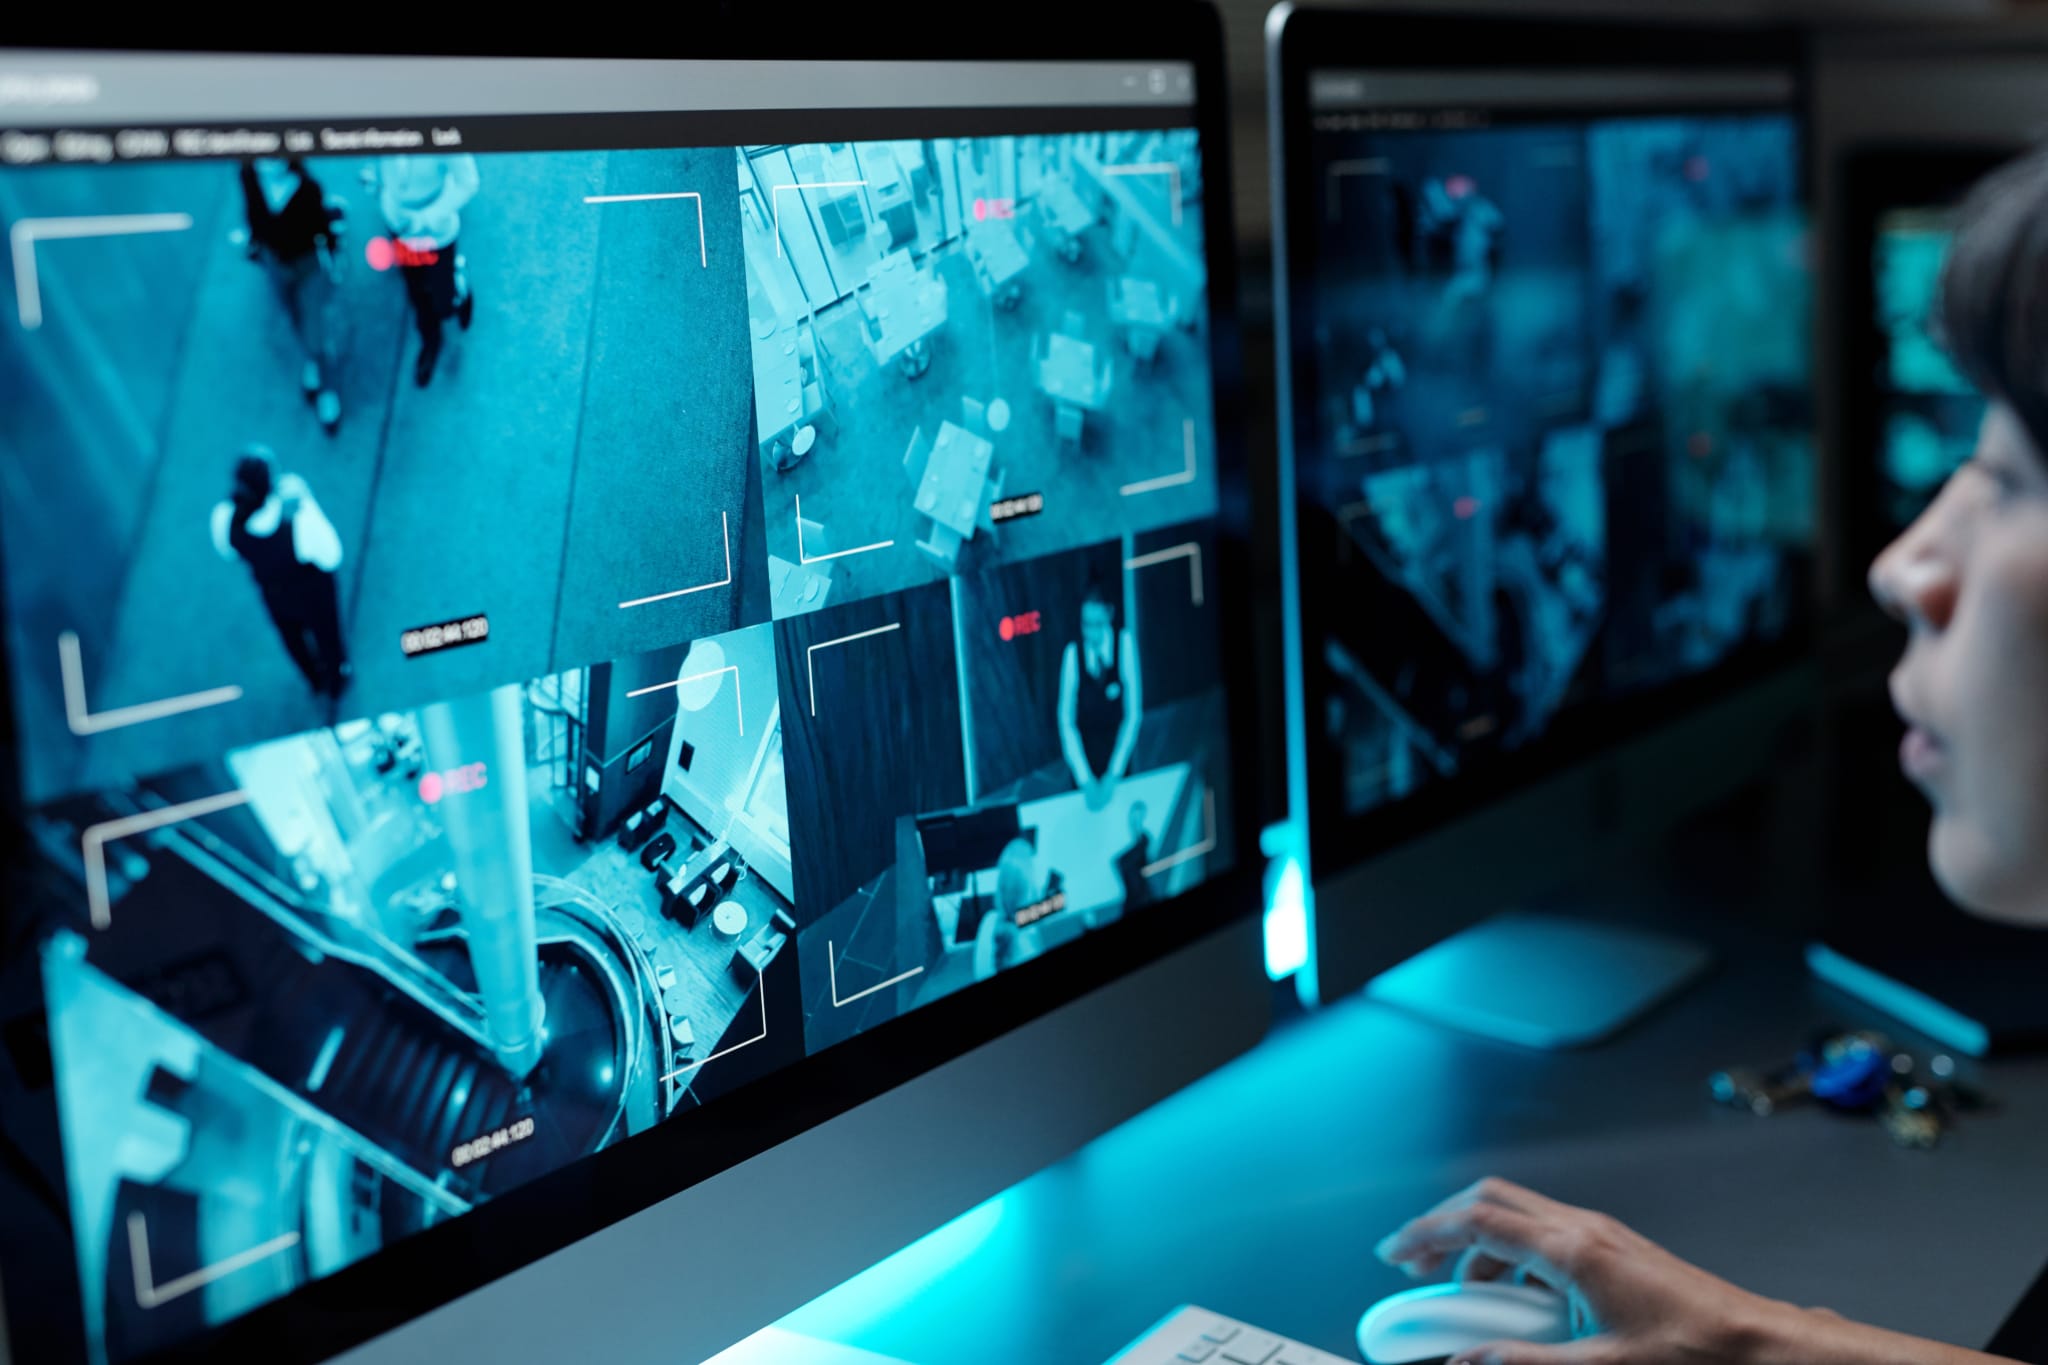
This trend is a response to the limitations of traditional security systems, such as reactive monitoring (investigating events only after they occur), high incidence of false alarms, dependence on human factors, high operational costs, and low effectiveness in the face of sophisticated threats and dynamic scenarios. Such systems typically fail to differentiate real situations from harmless threats, in addition to requiring 24/7 manual monitoring, which can lead to fatigue, errors, and delayed responses.
The adoption of artificial intelligence and computer vision overcomes these barriers by enabling predictive analysis, autonomous and automatic detection of suspicious behavior, reduction of false alarms, and immediate automated responses. Furthermore, these technologies add value by enabling continuous monitoring, advanced customization, and integration with multiple sensors and smart devices.
The result of combining these features is a more precise, proactive, efficient and cost-effective system, with the potential to protect home environments with much greater agility and better risk prevention, increasing the perception of security and even the value of properties.
In this article, we’ll demonstrate step-by-step how simple and quick it is to implement, using our AIOS platform, an AI-based home monitoring solution that meets market demands with continuous and autonomous monitoring, high accuracy, and automated alerts.
To follow this tutorial, you’ll need access to AIOS and an AIBox, as well as an IP video source (an RTSP stream) that can be connected to the platform and display the scene to be monitored. However, even without access to the system, you’ll quickly understand the ease of use and flexibility of our software.
Components and Pipelines
AIOS works with the concept of Components and Pipelines. A component performs a simple task, such as receiving video from a camera, detecting an object, counting the number of times an event occurs, or identifying changes in an area of the image. A pipeline is the name given to a set of interconnected components that capture and process the image for a specific purpose.
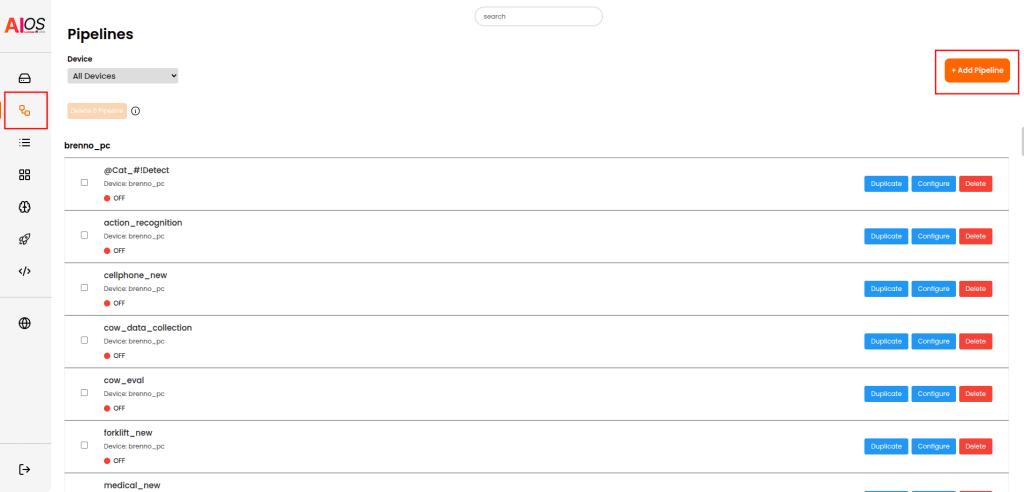
All work in AIOS occurs in a pipeline. Therefore, the first thing we need to do is create one. In the AIOS interface, select the Pipelines icon (second from top) in the toolbar on the left of the screen, and then click the button +Add Pipeline, in the upper right corner.
In Pipeline name, enter a descriptive name (e.g., “Intrusion Detector”) and in Device choose the device (AIBox) where the pipeline will be created. Click Create Pipeline.
The next screen shows a preview of your pipeline and of the results. Since the pipeline was newly created, both areas are empty. Click the Edit button at the top of the screen to start building your pipeline.
Receiving Video
The first component we will use is the Video Feed. This is the fundamental component of every AIOS pipeline and indicates the video source we will use for detection. Simply click on the component in the list on the right of the screen and then on an empty space in the workspace to position it.
We need to configure some parameters of Video Feed. Name is optional, and serves to identify the component, for example Backyard_Camera. URL is the URL of the camera video stream that will be used for detection. For example, rtsp://admin:password@192.168.15.100:554.
In this URL, the parameters admin and password are, respectively, the username and password required to access the stream. After the @ symbol we have the IP address of the camera (in the example, 192.168.15.100) and port (554). It is worth remembering that the parameters shown here are just an example, you must fill in the actual values corresponding to your camera.
In FPS you must inform how many frames per second (Framerate) will be processed during detection, between 1 and 10. The higher the number of frames per second, the greater the processing demand on your AIBox. Most solutions, including person detection, do not require a high frame rate, so we can use the default value, which is 5.
We won’t need to modify any other parameters now. The Video Feed component will look like this:

Detecting Persons
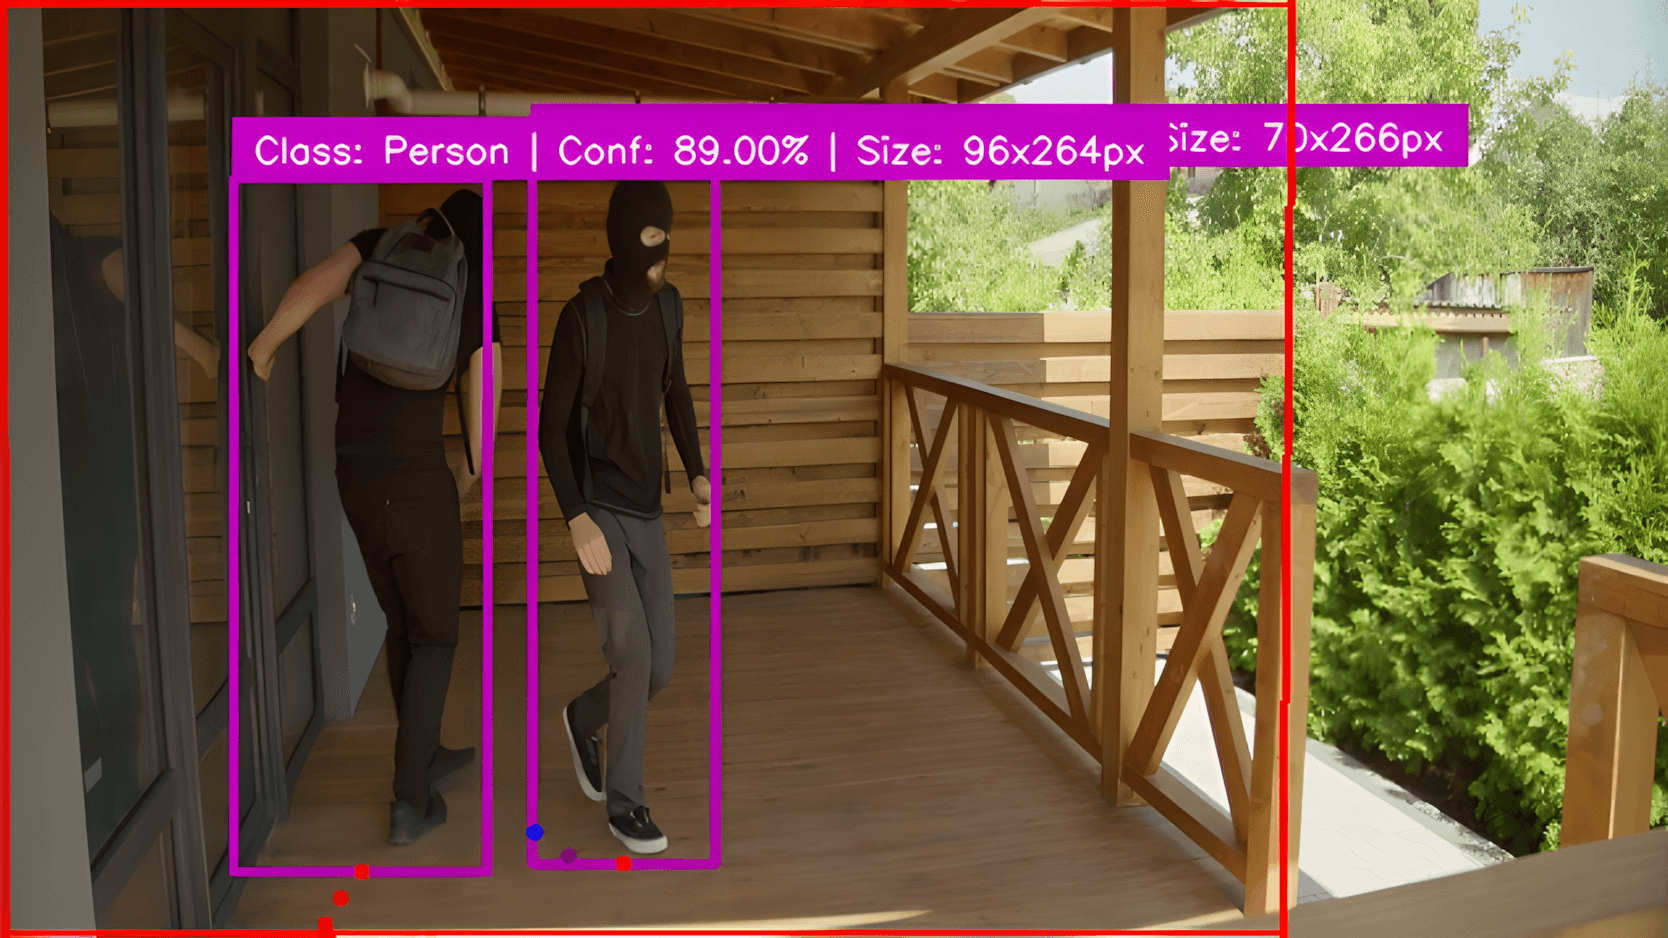
The next component in the pipeline is the Person Detection, which does exactly what the name says: it detects the presence of persons in images ingested by Video Feed. Place it to the right of Video Feed.
This component has two parameters that affect its operation. Confidence threshold indicates the level of “certainty” the model must have before tagging something in the video as a person. Object Size is an optional parameter that indicates the minimum size (in pixels) an object must have before it is considered for detection.
In our example, we can use the default values: 0.35 in Confidence Threshold and nothing in Object Size (i.e. object size will not be considered in detection).

An important step is missing from our pipeline. We have a video source and a person detection component, but we don’t have a connection between these two. This is necessary to establish who is sending or receiving data from whom.
Note that at the left and right edges of the Video Feed component there are orange circles. These circles are also present on the left and right edges of Person Detection. To connect the components, simply click on the circle at the right edge of Video Feed and drag the mouse to the circle on the left edge of Person Detection. A dotted line will appear, demonstrating the connection between them.

The next component is Detection in Polygon, that detects the presence of an object in a given area. Since we are combining it with Person Detection, this means that any persons entering the demarcated area will be detected. Don’t forget to connect it to Person Detection.
The main parameter of this component is the area where the detection will be made. To demarcate it, we need to obtain an image from the Video Feed component. Save your pipeline by clicking the Save button at the top of the screen. You will be taken to the pipeline preview screen. Run it by clicking the Play (▶) button at the top of the screen, and wait a few seconds until a camera image appears in the Visualization area.
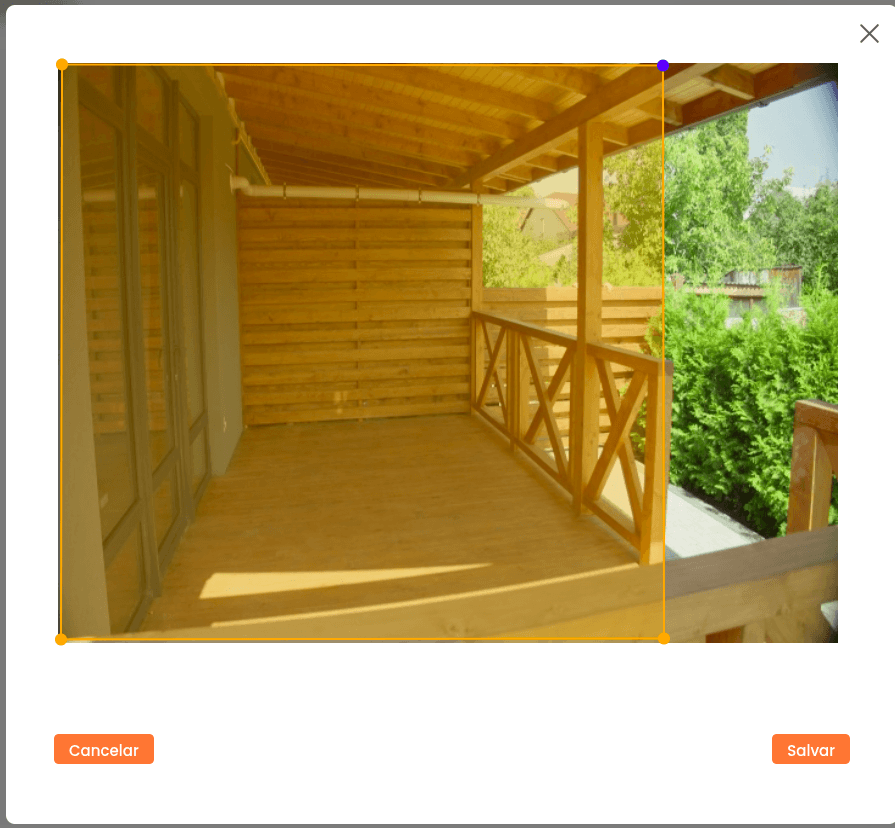
Now stop the pipeline by clicking the Stop (⏹) button, and return to the editor by clicking Edit. Click the pencil to the left of the title of the Detection in Polygon component. In the window that appears, left-click the edges of the area where detection should occur, drawing a polygon. Click Save.
With this, we can now detect the presence of people in a specific area. Just save and run the pipeline to see the results.

But what do we do when the detection occurs? We can generate an alert to a person in charge.
Sending a Home Intrusion Alert
There are several ways to send alerts in AIOS, including email, cards on Kanban boards, or, in our example, messages via WhatsApp. To do this, we’ll use the WhatsApp component.
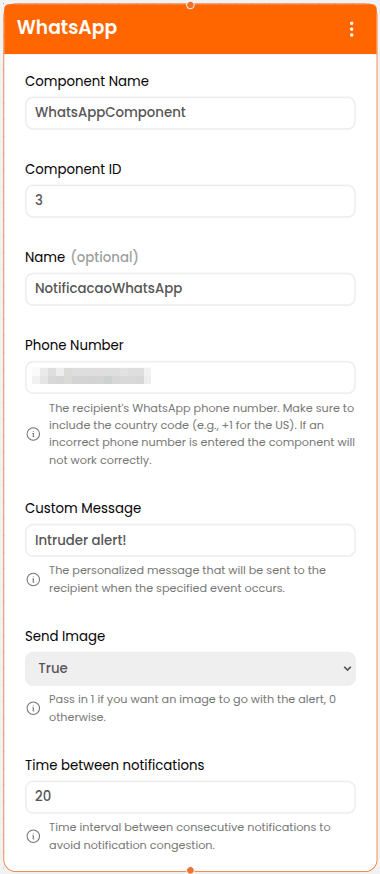
The parameters are simple: Phone number is the phone number that will receive the message. It must be in the format +COUNTRYCODE_AREACODE_NUMBER. Let’s image you wish to send the alert to a phone number in São Paulo, Brazil. The country code for Brazil is 55, and the area code for São Paulo is 11. If the number is 12345 6789, we should use +5511123456789.
In the Custom Message field, enter the text of the message to be sent (ex: Intruder alert!). Set the parameter Send Image to True to receive a picture of the event detected alongside the alert.
The last parameter to set is Time Between Notifications, which is specified in seconds. This avoids sending successive notifications within a short period of time, preventing what is known as an “alert flood.”
Let’s imagine it’s set to 10 seconds. This means that as soon as a person enters the designated area, an alert will be sent. Subsequent alerts will only be sent if the person remains within the designated area after 10 seconds of the previous one.
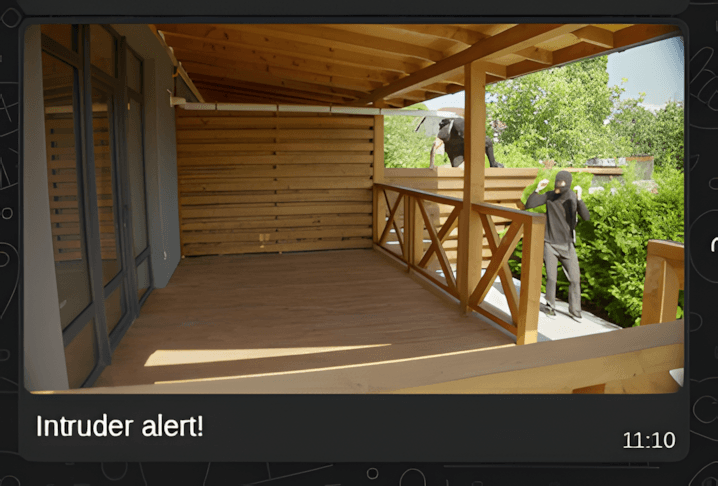
An example alert can be seen below:
In addition to notifications, AIOS also integrates with PLCs (programmable logic controllers), which allows it to generate a signal to turn on lights or sound an alarm upon each detection. Check our documentation to know more.
Conclusion
Of course, this is just a small sample of what is possible with AIOS, which stands out as a comprehensive and versatile platform in the field of computer vision and edge AI thanks to its flexibility.
With its capabilities spanning a wide range of sectors—from industry to logistics, from security to smart cities—AIOS offers innovative solutions that transform visual data into actionable insights and tangible results, without the need for technical expertise. Contact us and discover how AIOS can accelerate your digital transformation.